Showing posts with label how-to. Show all posts

How To Start Blogging

Friday, January 12, 2018

One of my most frequently asked questions is how to start a blog, or getting asked blogging advice in general! I don't mind getting these questions at all, because it feels like it wasn't that long ago I was feeling lost and not knowing how to start myself. I would ask bigger bloggers for advice and sometimes I still do! I will always recommend starting a blog to others - it can be a lot of work, but it has been the greatest creative outlet and my life has definitely changed for the better for it. It can definitely be intimidating to start, but here are some of my top tips for starting a blog if you are not knowing where to begin:

Try to Post as Frequently as You Can
Updating consistently can work wonders for your blog - not only does new posts keep readers coming back, but it helps get the attention of new people as well! Of course, don't work yourself too hard by trying to conform to a rigid posting schedule, because your content will suffer - but don't leave your blog unattended for months.

Connect With Other Bloggers
Commenting on blog posts and tweeting other bloggers I admire will help get your name out there. If you leave genuine comments, it will stand out to the writer and make them want to return the favor and check out your blog.

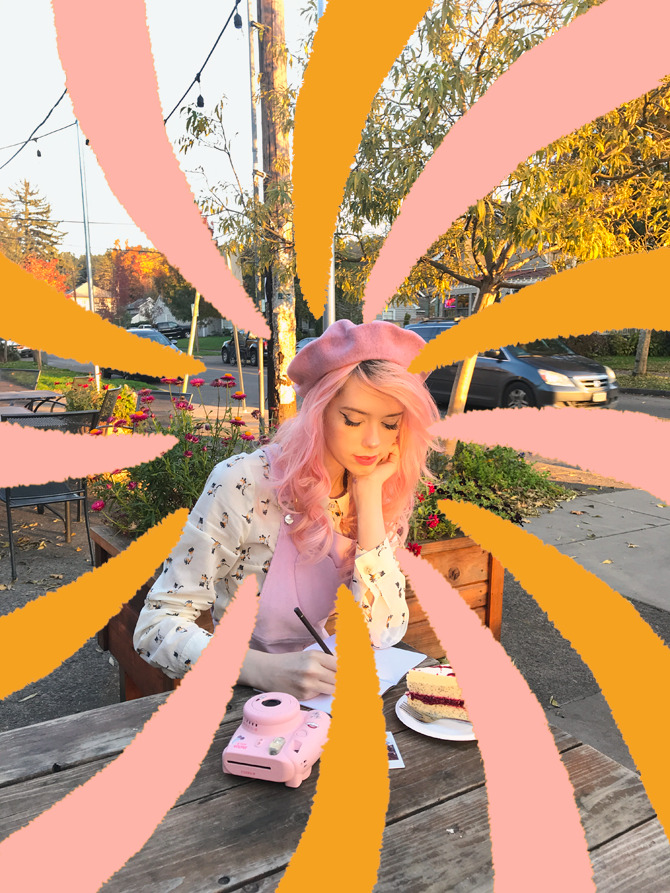
Pay Attention to the Aesthetic of Your Blog
While a lot of design elements depend entirely on your own preferences, there are some universal dos and don'ts:

  • Have a clear, easy to read font - preferably with a light background and black text to make reading your blog as easy and accessible to read as possible.
  • Resize all your photos to be the same width.
  • Make the most of whatever camera you have - whether it's a DSLR or an iPhone, read up on your camera so you can provide the best possible quality images with what you have.

    Don't Give Up!
    In the beginning, I felt like I was just talking to myself - and after spending hours taking photos and writing a post, getting 0 views and 0 comments felt slightly heartbreaking. I even started to feel kind of pathetic for even assuming people would be interested in a blog by me. But it was imperative that I kept going, because slowly, I started getting views and comments and people started sharing their opinions and stories - and that's all I ever wanted, was to connect with like minded individuals and maybe put a smile on their face!

    Good luck! ♡ If you have any more questions feel free to ask them below and I might answer them in the blogging Q & A I'm working on!

  • DIY Daisy Sunglasses

    Monday, March 18, 2013

    Recently I had the joy of contributing to MissRobin, a wonderful magazine which aims to "modernize 40’s women fashion magazines"! Created by fashion student Lucas Asin and with contributions from photographer Helena Exquis and blogger Laia Doll, when I saw the first issue I just knew I wanted to be part of the second!

    The second issue's theme of 60s, daisies, and youth immediately inspired me to try a DIY idea I have been meaning to figure out for months! Based on these Moschino Cheap & Chic sunglasses that I'm still obsessed with years later, all you need is cheap sunglasses, foam, and glue!

    Check out the full DIY in MissRobin's second issue here! And please let me know if you have any questions or make a pair for yourself!

    ♡,
    Kailey

    How To Make a Zine

    Friday, July 27, 2012


    OR HOW I MADE PISTACHIO

    It's been almost three months since I debuted Pistachio, and I'm still over the moon with what an incredible experience it was! I have been asked several times to help out with other people's zines and how I made my own, and since I've begun the beginning processes of creating the second issue, I thought now would be the perfect time to share with you How I Made Pistachio:

    NO 1: FIND INSPIRATION
    Regardless of whether it is a child's painting or the Mona Lisa, you need to be inspired by something and have a clear picture of what kind of theme, tone, and overall color scheme you want for the zine. I went through images and clippings I had saved to help shape the tone and theme I wanted.

    NO 2: PUT PEN TO PAPER
    Write the articles you want to write, draw the drawings you want to include, and take the pictures you want to take for the zine. Also, if you have started getting ideas for how you want the zine to look, sketch out layout ideas - this helped me figure out how I wanted arrange a series of pictures and text on a page.

    NO 3: ASK FOR SUBMISSIONS
    Now this isn't mandatory, but I cannot recommend it highly enough! I felt so honored when people I really admired consented to being a part of the zine, and when I posted a call for submissions here I received some really incredible submissions by people I didn't even know read my blog! Of course, there was some entries I had to turn down - they were great, but just didn't fit the aesthetic of my zine. Turning them down was hard, but this is *your* vision and you should not be obligated to include anything you don't want to. Just be kind when you tell them you can't use their piece!

    NO 4: PUT IT ALL TOGETHER
    Compile all of the illustrations, submissions, and articles and begin designing your zine! This was the most difficult part - there were so many possibilities! Using Photoshop CS4 and a design inspiration Pinterest board to help me, I designed and put together all the different elements into a page. One thing I noticed was I could spend hours and hours arranging all the pieces in the slightest different ways - and it got to the point where I was just wasting time. Unless you want a super sleek, professional quality zine, do not sweat the small stuff - for my specific case, what I was making was just supposed to be a fun, personal side project!

    NO 5: FORMAT FOR PRINTING AND ISSUU
    Another part I struggled with was the actual process of printing and figuring out how to upload it to Issuu, a site I really love because it allows you to flip through the zine as if it was a real magazine! I made two different versions of the zine, one formatted like the standard half-size zine (a great diagram for this can be found here) and the other as a pdf file to upload to Issuu. For more about uploading documents to Issuu, visit here.

    NO 6: UNVEIL YOUR ZINE, PRINT OUT A COPY,
    AND CRY OVER HOW PERFECT IT IS

    Pretty self-explanatory! By the time I completely Pistachio, it was completely different from what I imagined and nowhere near perfect - but that didn't matter! I had created something I felt truly proud of and couldn't wait to share it with you all. As I said to my friend who expressed doubt over her artistic skills and thus felt like she couldn't make one herself, one of the best aspects of zines is that you are in control and can do anything you want with the zine - it doesn't matter if you aren't the world's greatest writer or artist, just write or illustrate what you feel and that will be good enough.

    Feel free to email or comment asking questions, and I will try to answer them to the best of my ability! Also please let me know about any zines you have created or are planning to make! I wanna hear about them ^^

    Floral background is courtesy of Pugly Pixel

    ♡,
    Kailey


    Mermaidens - Musings of a Modern Mermaid ©2011-2014 All rights reserved
    Portrait in Header Illustration by Sibylline Meynet designed by Designs Blue Moon